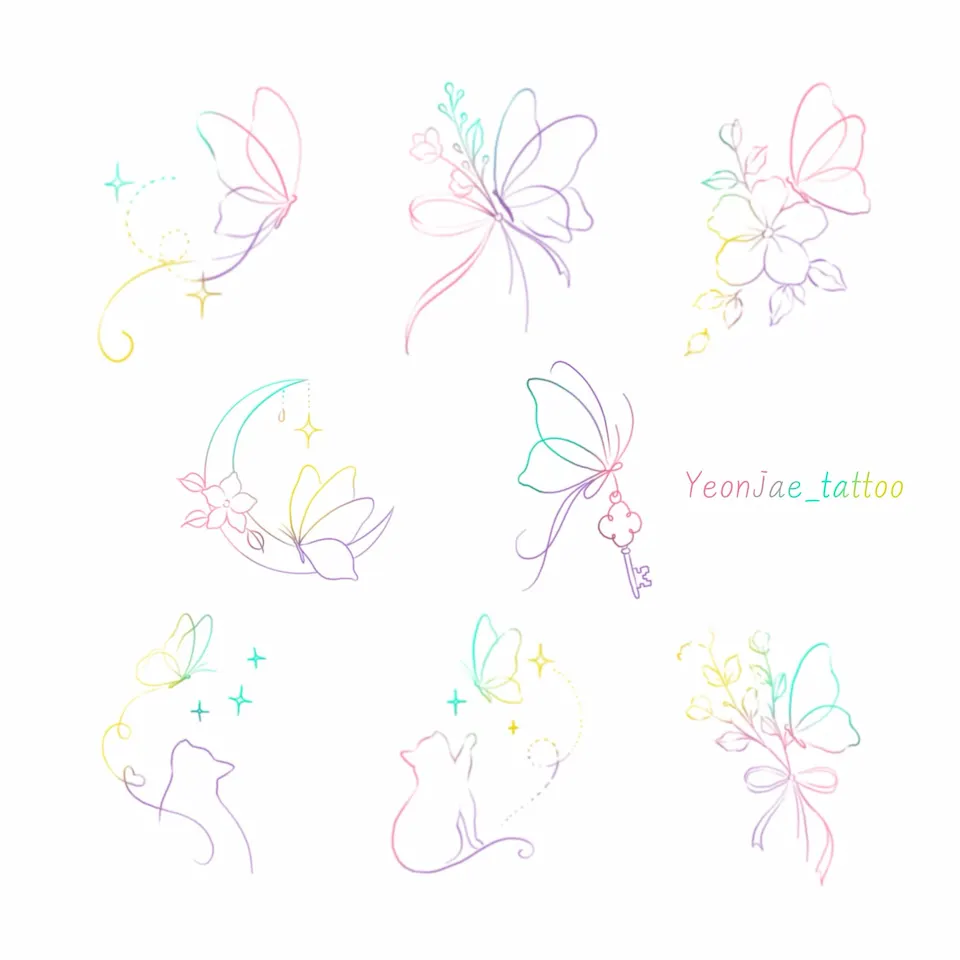
What is in the butterfly and little-things design sheet we prepared?
Hi, I'm Yeonjae, a tattoo artist in Hongdae, Seoul.
Today I'd like to talk about a design sheet I recently posted on Instagram. If you have been looking for a Hongdae tattoo design and stopped at "I like one of these, but how do I choose and book it?", this sheet makes a good example.
The first photo is not a tattoo. It is a design sheet. The post calls it the "Butterfly & Little Things Collection": eight delicate linework designs that pair butterflies with flowers, crescent moons, sparkling stars, little cats, ribbons and tiny charms. The post says the soft, flowing lines were meant to give a light, minimal look, and that each design is available in classic black or soft pastel rainbow colours. It also says each design goes to one person only and is not repeated once reserved.
With a design sheet, the easiest order is to pick one design first, settle colour and size, and then send a booking inquiry. Price and session length are best asked about in the consultation.
What does each of the eight designs look like, and how do colour and black differ?
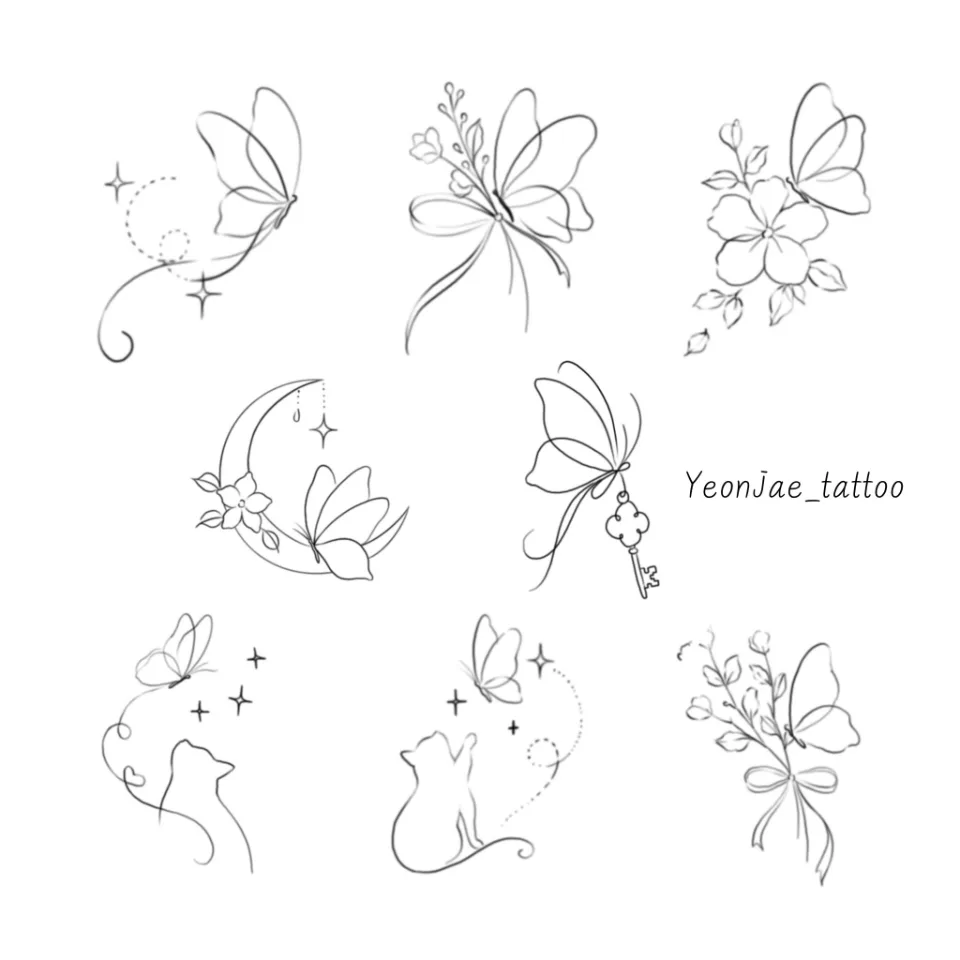
Photo 1 is the pastel version and photo 2 is the same eight designs in black line. Both are design sheets, not tattoo photos, and the artist signature sits on the right. Eight designs share one page, but each is independent. Here is what you can see, position by position.
| Place on the sheet | What the photo shows |
|---|---|
| Top left | A butterfly with a dotted trail, a curling swirl and two sparkles |
| Top centre | A butterfly with a flower sprig and a ribbon |
| Top right | A butterfly beside a large flower and leaves |
| Middle left | A crescent moon with flowers and a butterfly |
| Middle right | A ribboned butterfly with a key hanging below |
| Bottom left | A cat silhouette with a butterfly and sparkles above |
| Bottom centre | A cat looking up at a butterfly, with a dotted line and sparkles |
| Bottom right | A bouquet of flower sprigs with a ribbon and a butterfly |
The butterfly is the lead in every design, and the added element changes each time: a flower sprig, a moon, a key, a cat, sparkles. Looking at all eight at once can be overwhelming, so I suggest choosing two or three that speak to you and comparing them.
Colour and black look different in these ways.
- Colour (photo 1): within a single line, pink, purple, mint and yellow blend into each other. The feel is light and soft.
- Black (photo 2): the same lines settle into one colour, so line and white space read clearly. The feel is calm and tidy.
- Same design, different colour: only the colour changes. The post also says you can choose between black and pastel rainbow.
Many people lean one way depending on why they chose the design. If you want something calm to keep close for a long time, black often fits; if the design lifts your mood the moment you see it, colour often fits. There is no right answer, so tell me your reason and we will choose together. Colour on paper can look different on skin, and how it looks afterwards depends on the person and the area, so this article does not make promises about it. Please ask in the consultation.
What are the owl and ornament designs, and what size do the posts suggest?
Some designs in the same line-up have a very different feel. Photos 3 and 4 were posted separately, and again they are design images, not tattoo photos.
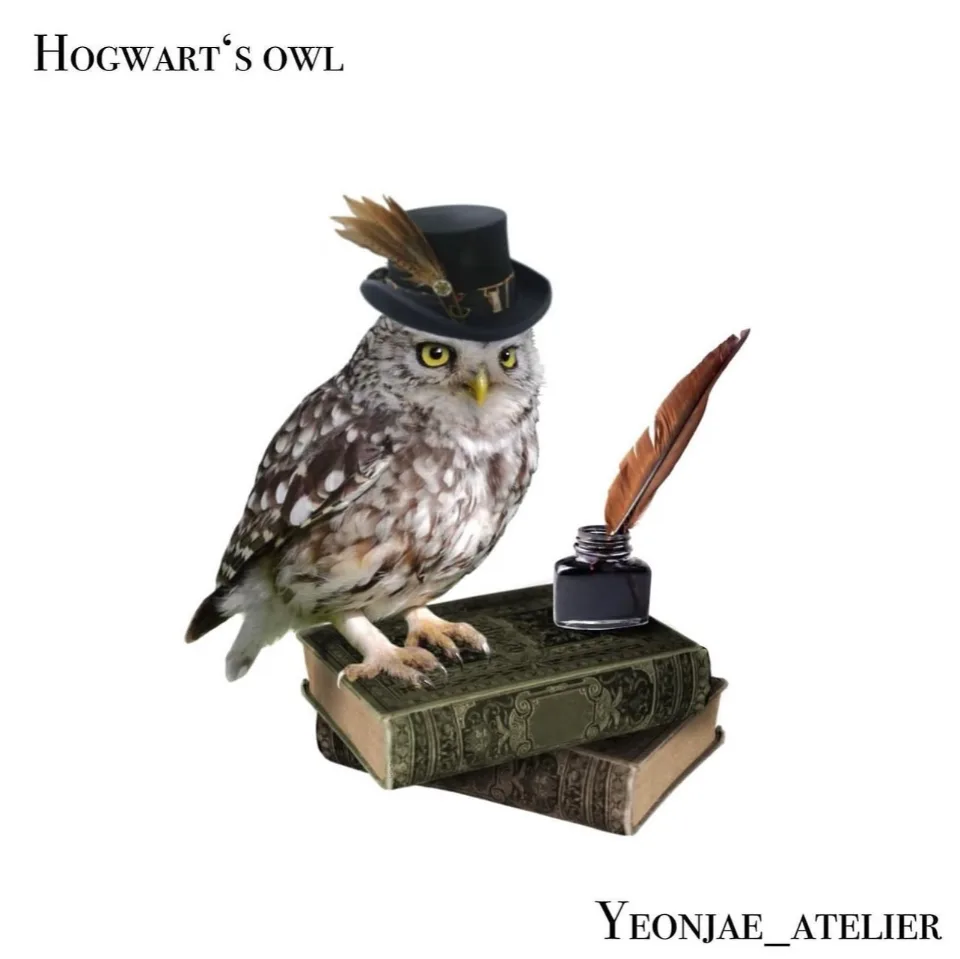
Photo 3 · the owl design
- The post describes a magical design inspired by the world of Hogwarts: an owl perched on antique books, paired with a quill and an ink bottle, for a mysterious, vintage atmosphere.
- It is marked "Available design" with a recommended size of under 10 cm.
- In the picture, the owl wears a black top hat with a feather and sits on two worn books, with an inkwell and quill beside it. The eyes are yellow, and the feathers and book covers are drawn realistically.
Photo 4 · the ornament design
- The post gives the title "moonlight ornaments" and marks it "Available design".
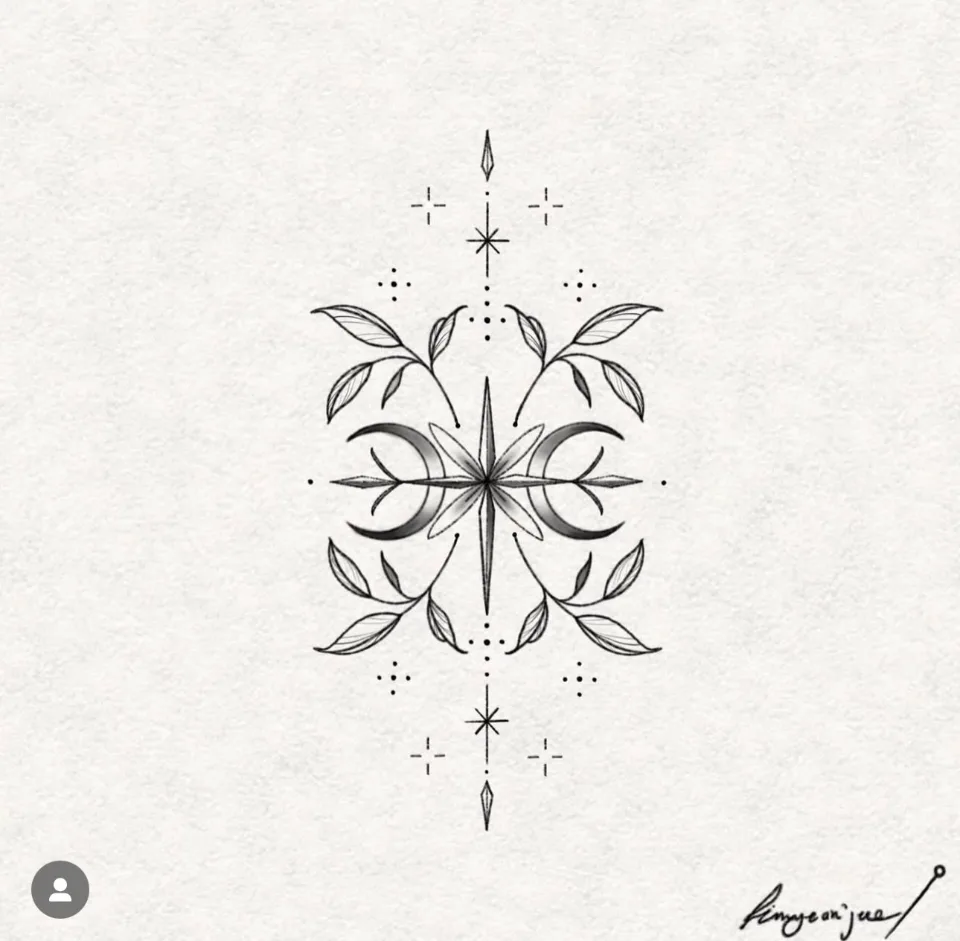
- In the picture, crescent moons sit left and right of a central star, with leaf branches outside them and small stars, dots and pointed tips at top and bottom, all symmetrical.
- I could not read a size note for this design in the post, so we check size in the inquiry.
The impressions differ quite a bit. The sheet in photos 1 and 2 has thin lines and light elements that look suited to small placements. The owl in photo 3 has a lot of detail, from feather texture to book covers to the quill, so what to keep when it is made small seems important. Photo 4 is a mirror image left and right, which looks well matched to the centre line of the body or a vertical direction. Where it goes is decided in the consultation by looking at the lines of your body.
One thing to keep in mind: the under 10 cm figure is a note for the owl design only. It does not carry over to other designs, so we confirm the size of the design you choose one by one.
How did small-charm designs sit in other real work, and why did they suit those spots?
A design sheet is a drawing on paper, so it can be hard to picture on skin. That is why I brought two photos of other work on the same theme, with butterflies and ribbons. These are not the finished results of the sheet above.
| Photo | Place | What the photo shows | What the post says |
|---|---|---|---|
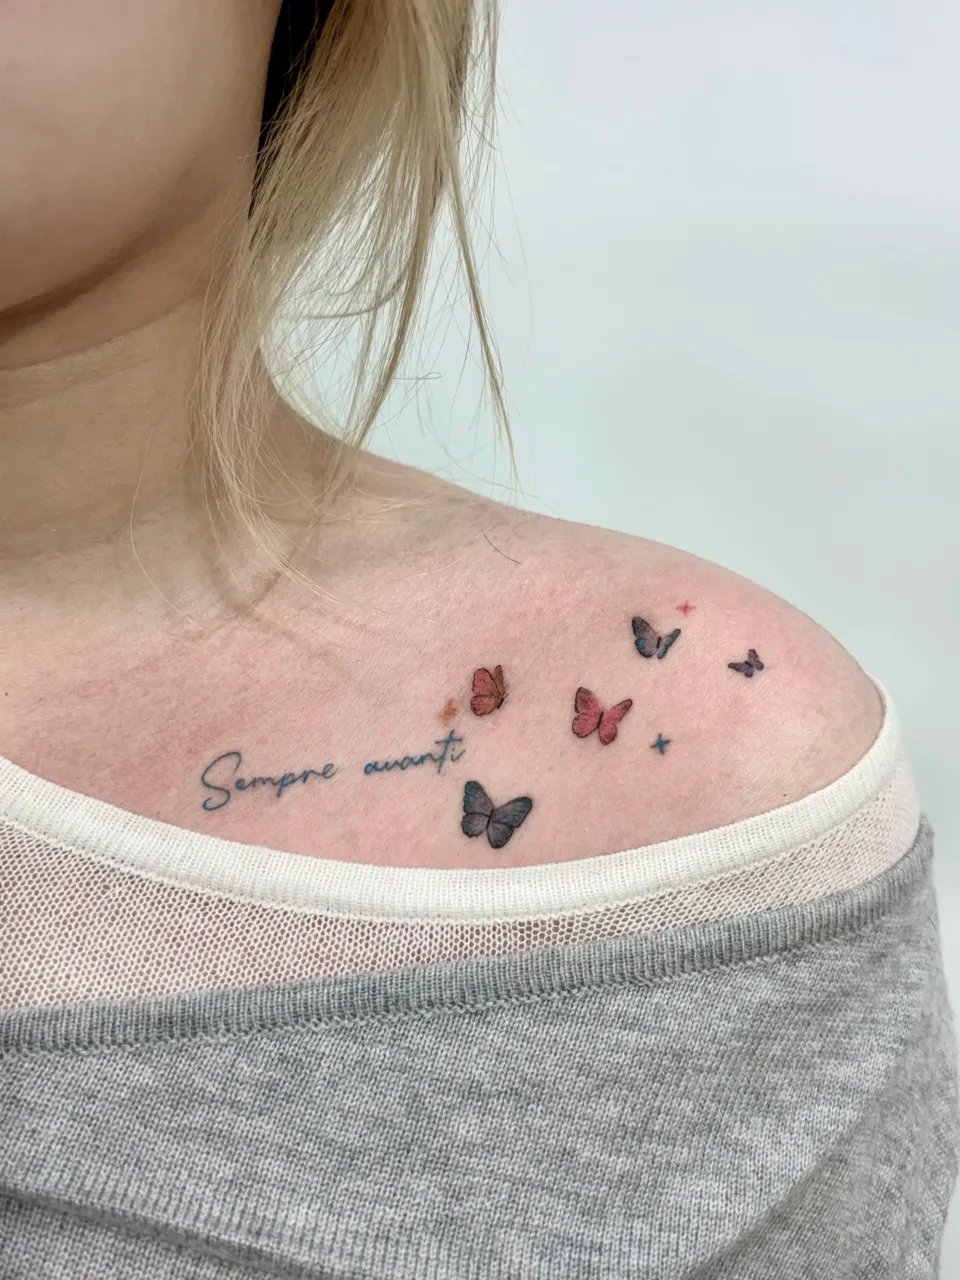
| 5 | Collarbone toward shoulder | Five small colour butterflies and a few sparkles, with a line of blue cursive English on the left | "Sempre avanti, always forward." Soft butterflies dancing across the collarbone, a reminder to keep moving no matter what; delicate, colourful and full of quiet strength |
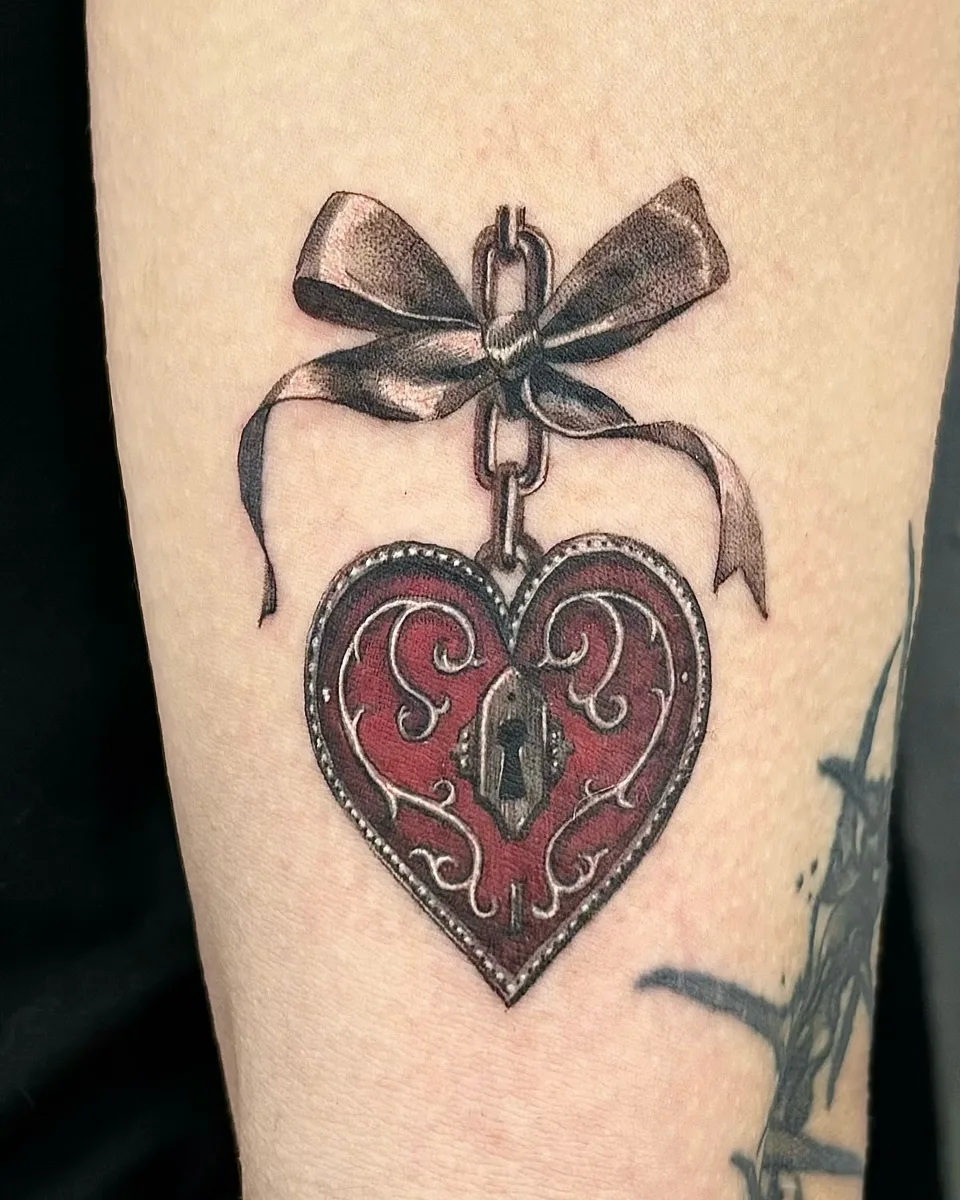
| 6 | Arm | A chain hangs from a ribbon bow to a red heart lock with swirl ornament and a keyhole | I could not confirm a description in this photo's post, so I can only describe what is visible |
These are the points that read as reasons they worked, based on the photos.
- Photo 5, scattered at different sizes: the butterflies are not bunched together. They differ slightly in size and colour and drift from collarbone toward shoulder, which gives movement along the body's line. The wording is a single thin line that does not collide with them.
- Photo 5, a different colour for each butterfly: pink, orange, bluish grey and purple help you imagine the colour sheet on skin.
- Photo 6, a vertical drop: ribbon, chain and heart run top to bottom in one line, matching the direction of the arm. It shares a feel with the ribbon charm on the sheet, but it is much larger and more three-dimensional.
- Photo 6, distance from the other tattoo: part of a black tattoo is visible at lower right, and this piece reads as a single design apart from it.
When you compare a sheet with real work, look at line thickness and spacing, colour depth and the curve of the spot. On rounded areas like the collarbone or arm a flat design can look a little different, so placement is decided by holding the design against your body in the consultation. I have kept the wording to what the post says and have not interpreted it further.
Once you pick a design, how do size and the booking inquiry follow?
With the examples in mind, you only need the order. These are the things people ask about most.
1. Choose the design. Before choosing, ask yourself why you were drawn to it. Maybe it holds an animal or season you love, maybe you wanted a small accent, maybe you simply liked it on sight. Many people come to us looking at a sheet with that feeling. Once the reason is clear, colour, size and placement get easier. The designs on the sheet are independent, so we can talk about one design or two or three side by side.
2. Decide the size. Rather than one number, size is set by looking at how delicate the design is, how much room the spot has, and how visible you want it to be.
- Thin-lined, light designs (photos 1 and 2) look good small. We check that the gaps between lines do not get too tight.
- Designs with many elements (photo 3) work best if you decide within the recommended size what matters most: the eyes, the hat or the quill.
- Symmetrical designs (photo 4) depend on the balance of width to height. Leave room so the small stars and dots at the ends are not cut off.
A simple way to judge size: save the design image on your phone and lay it over a photo of the area you have in mind. It need not be exact. Saying "about two finger joints" or "half my palm" speeds things up. The actual size and what is possible are explained after we see your photos.
3. Decide the colour. As we saw, the same design can be chosen in colour or black. Colour versions use several colours in one design, so if you would like to reduce them to one or two, tell us in the consultation.
4. Send the inquiry. The post says each design goes to one person only. Whether a design is still available now may differ from when it was posted, so we confirm that when you ask.
If you would rather start with a single, simpler symbol, see our post on starting a first tattoo with a mini symbol.
What should you prepare before a booking inquiry? (checklist)
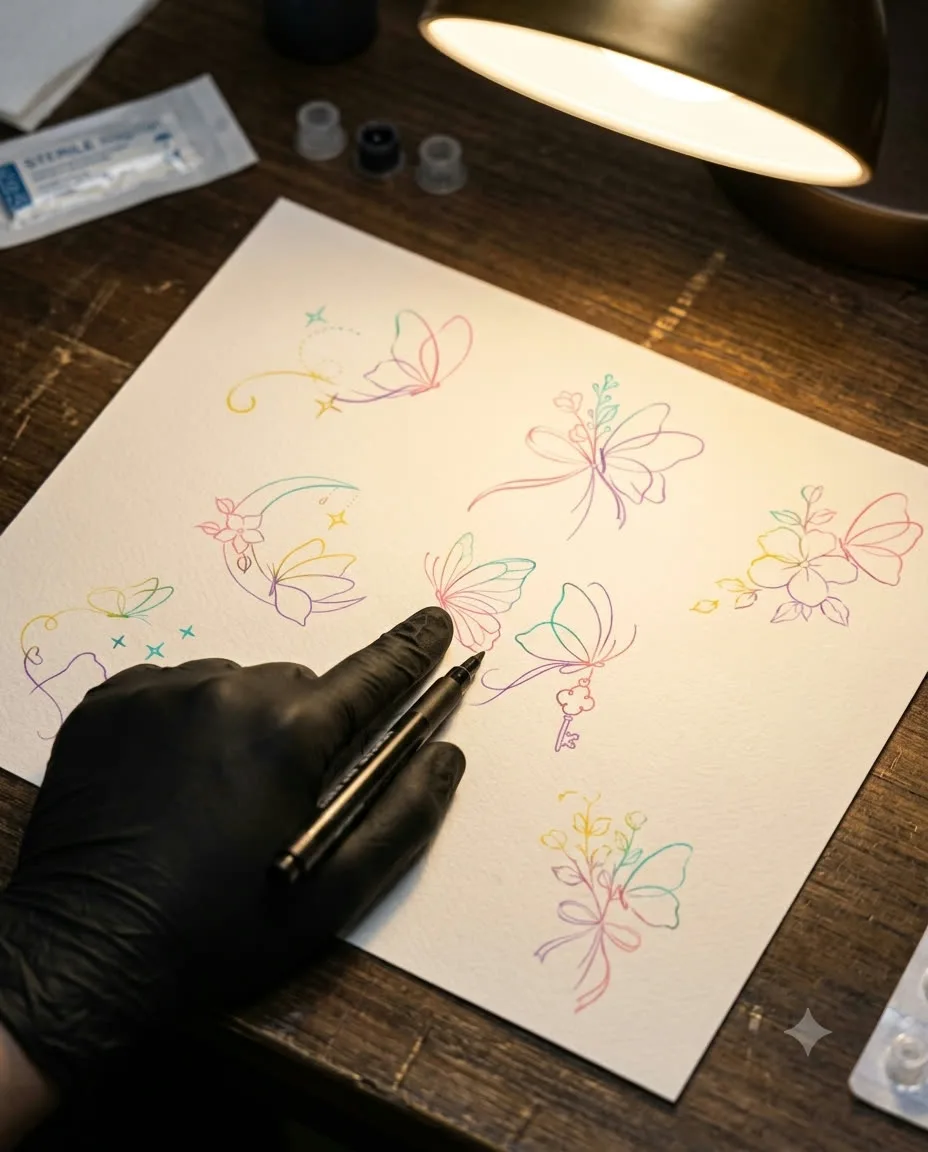
Once you have chosen, you don't need much. Jot these five things in your phone notes and one message will cover it.
- A screenshot of the chosen design: tell us which photo and which design, and whether colour or black.
- A photo of the area you have in mind: collarbone, arm or wrist, in a relaxed pose.
- A rough sense of size: no number needed. Finger joints or a share of your palm work.
- Whether to combine designs: just one, or two or three side by side.
- How much needs to stay covered: if sleeve length or a work or school setting matters, please say so.
Because each design goes to one person only, check first whether the design you like is still available. That can change over time, so this article does not state it as a fact.
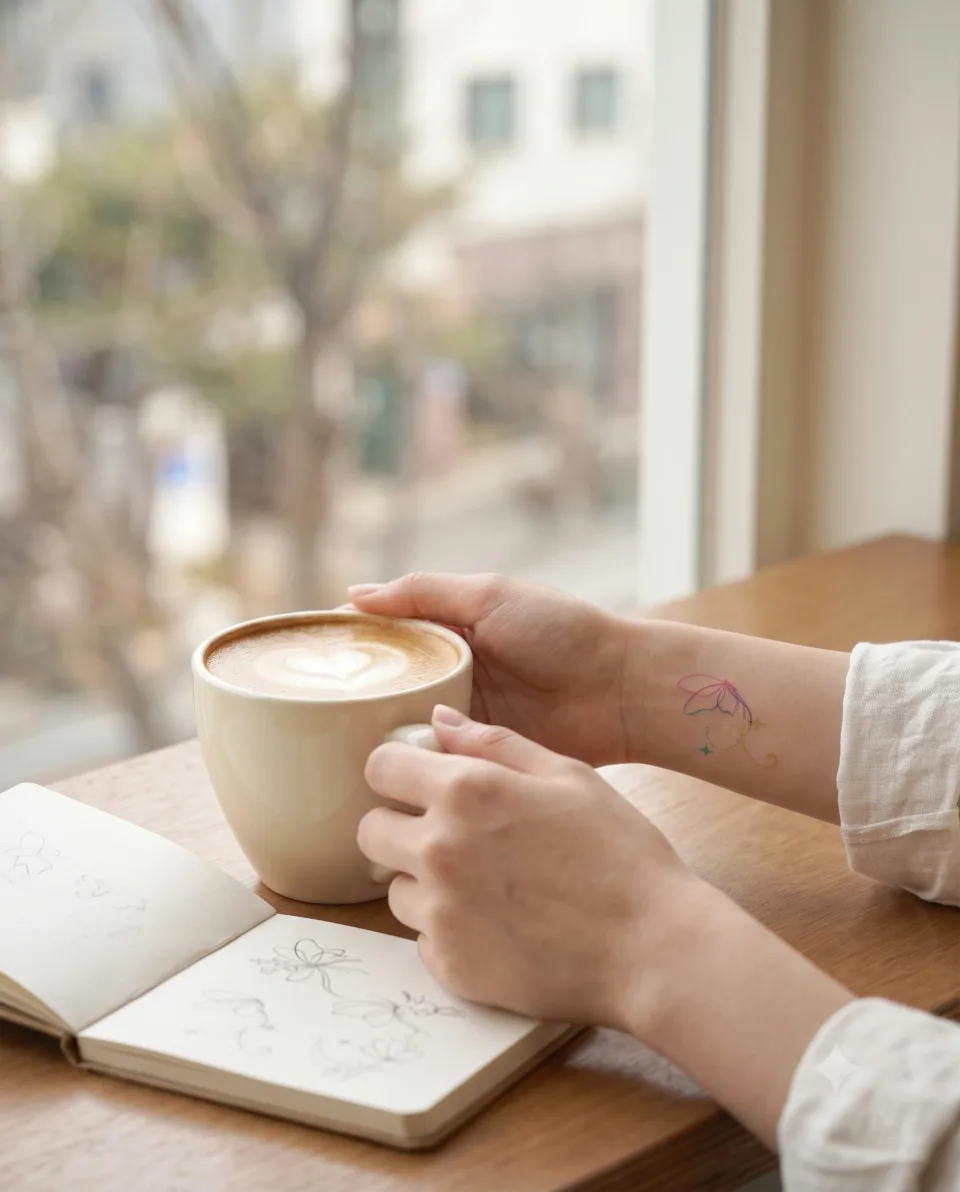
Adding one line about why you chose the design makes size and placement much easier to settle. Also picture when the spot will catch your eye in daily life: lifting a coffee cup, turning a page, glancing at your wrist. If you would like to share a design with a friend, see our hangul flower matching tattoo post.
How do you start a design booking consultation by Instagram DM?
It takes three steps. Please send your inquiry in this order.
- Open an Instagram DM to @yeonjae_tattoo. Open the Instagram DM
- Send the chosen design, a photo of the area and a rough sense of size from the checklist. Skip anything you don't know yet.
- We talk about whether the design is available now, size, placement and schedule in an individual consultation. Price and session length are explained once the consultation starts.
If you haven't chosen yet, a message like "I'm curious about the butterfly designs" is fine. If you want to see more of our other work, you can browse our films page.
Let’s talk about a tattoo that feels like you
Bring reference photos and tell us your preferred motif, size and placement.
Who is the tattoo artist behind this article?
I'm Yeonjae, a graduate of the China Academy of Art who, as of 2026, is in the eighth year of working as a tattoo artist in Hongdae. The academy is an art school founded in Hangzhou in 1928. I draw my designs myself, using what I learned there, and I think about how each one will sit on the body as part of that work.
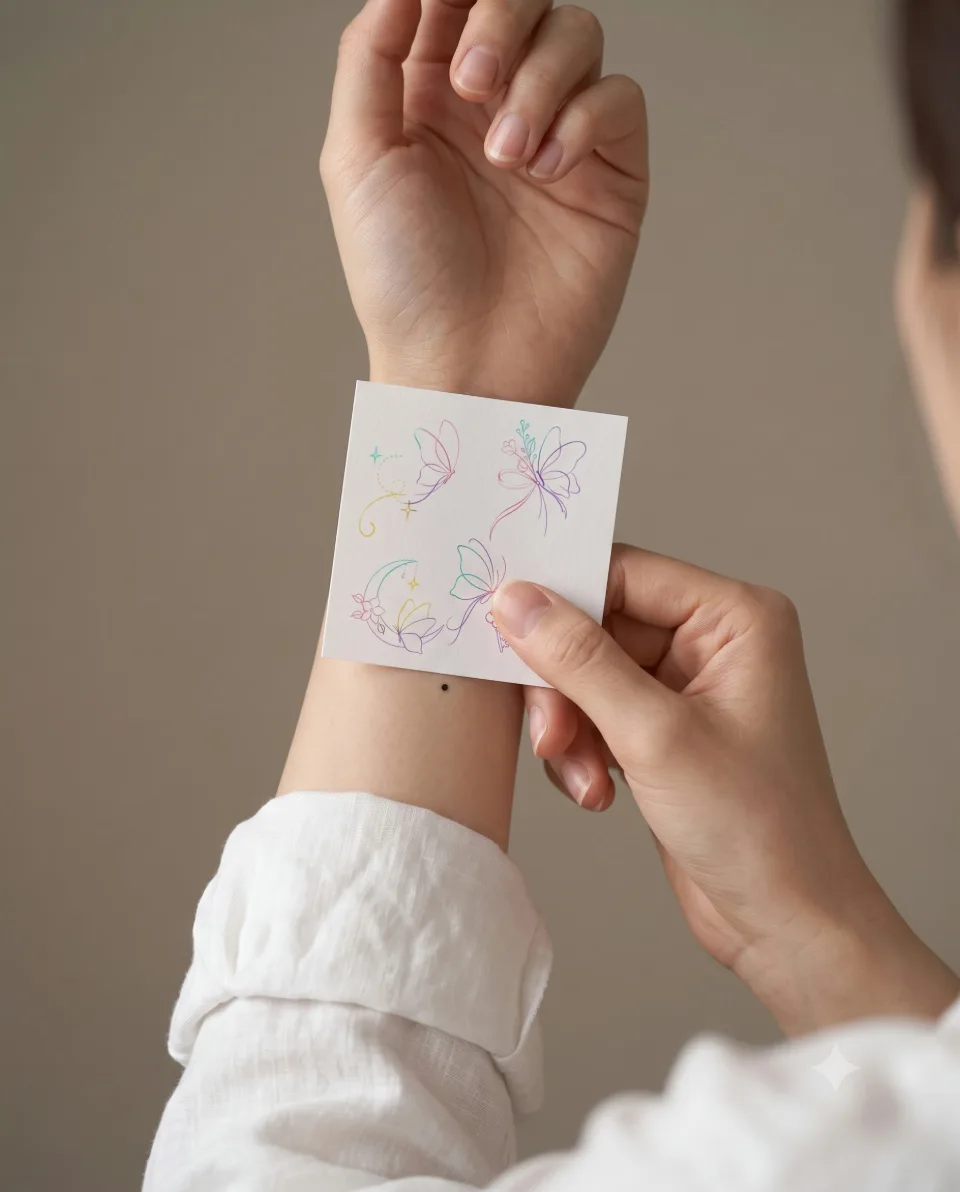
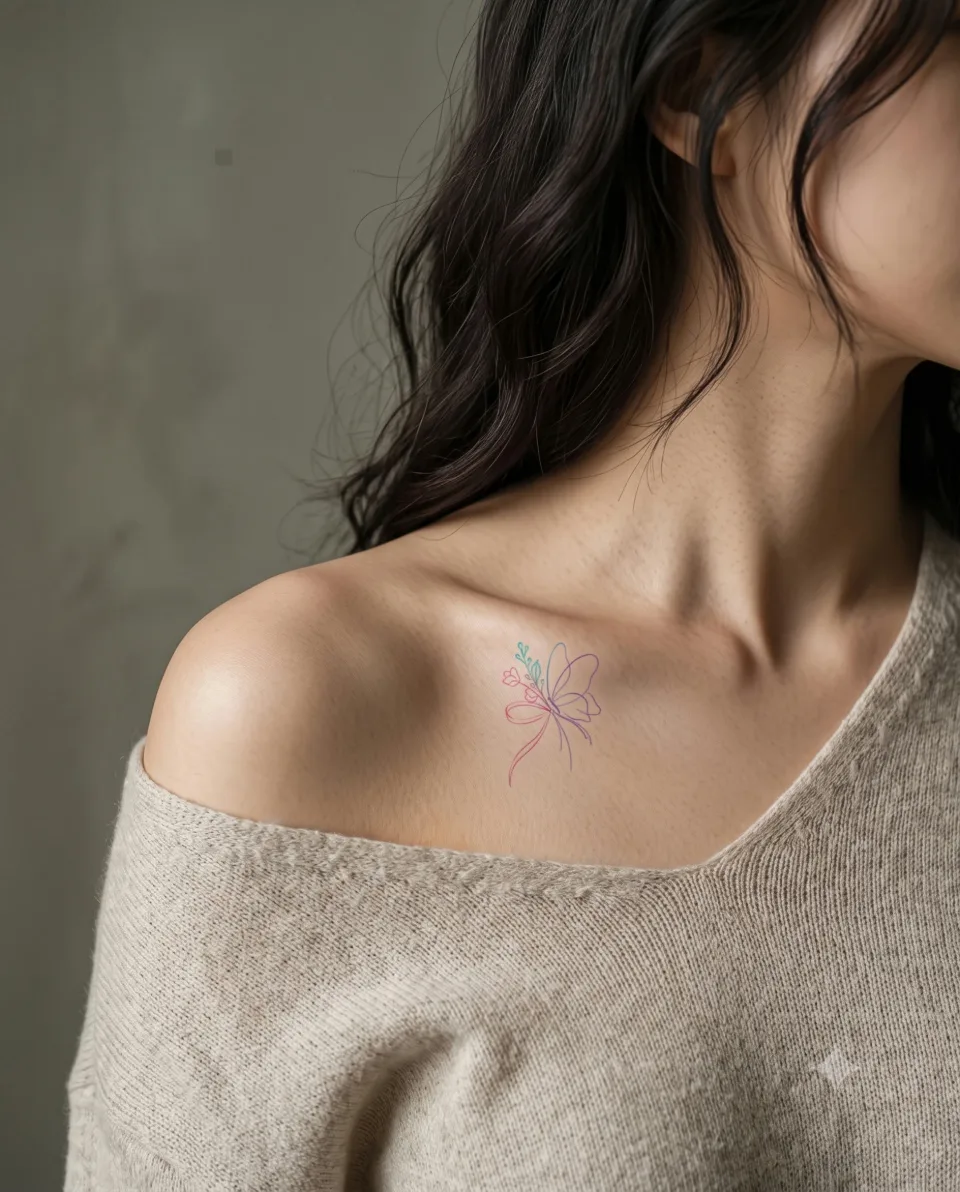
This article is based on the design posts on the Yeonjae Tattoo Instagram account and six photos I checked directly. What I say about the designs stays within what the posts say, and I have not written anything about the people who received the other work. The four AI-staged images in the article were made to help you picture the scenes, and they are not real clients or real tattooing scenes.
Before you book
Can I book a design from the sheet right now?
The posts say each design goes to one person only and is not repeated once reserved. Availability changes over time, so send the design photo by Instagram DM and we will confirm.
How do I choose between the colour and black versions?
The posts say the same design can be chosen in classic black or soft pastel rainbow colours. Start from why you chose the design and what you usually like, and we check how it feels on skin together in the consultation.
Can the size of a design be changed?
The right size differs by design. The owl post suggests under 10 cm, and for other designs we explain one by one in the inquiry. The adjustable range is set after seeing the design and the area.
Can I have just one design, or several together?
Designs on the sheet are independent, so one or several side by side can both be discussed. We decide in an individual consultation based on the area, spacing and size.
Where can I find out about price and session length?
They depend on the design, size and placement, so this article does not state them. Send the design and a photo of the area by Instagram DM and we will go over them in an individual consultation. For aftercare, please ask in the consultation rather than relying on a general rule here.
Key facts
- Location
- 2F, G Studio, 136-11 Eoulmadang-ro, Mapo-gu, Seoul, South Korea
- Opening hours
- Mon–Sat 11:00–23:00 · Closed on Sundays
- Artist
- Yeonjae · China Academy of Art graduate · eighth year in Hongdae (as of 2026)
- Styles
- Fine line · Floral & botanical · Cover-up
- Consultation & booking
- Confirmed after consultation via Instagram DM, LINE or KakaoTalk
- Pricing & time
- Price and session length depend on the design, size and placement, and are explained during the consultation.
China Academy of Art graduate, in her eighth year as a tattoo artist in Hongdae · as of 2026
China Academy of Art is an art university founded in Hangzhou in 1928. Its long history of art education provides context for Yeonjae’s fine-art background. About the academy · official website ↗
Yeonjae Tattoo · Blog
This post brings together the work photographs, published descriptions and guidance for preparing an inquiry. See the artist profile above for the creator’s background.
Photo source: Original artwork & context ↗
Original Instagram caption
Based on the artist’s supplied work notes. Editorial text was prepared with AI assistance.